Rabbit Weisswurst
Tender rabbit and succulent pork are blended with fresh herbs, lemon zest, and warm spices to create a delicate, Bavarian-style weisswurst.
Ingredients
Equipment
Instructions
-
Freeze the meat slightly. You want them to be frozen on the outside, but not frozen solid. If possible, put your grinder in the fridge to cool down.
-
In a small bowl, add all the spices, Instacure, lemon, and egg white. Stir to combine well. Place this in the fridge while you grind the meat.
-
Nest a large mixing bowl in a bowl filled with ice. Grind the meat and fat through the 1/4-inch plate of the grinder into the bowl set in ice.
It’s very important that the meat stays as cold as possible. If you’re doing an extra large amount, you may want to do it in batches.
You can skip the nested bowls if you work in small batches. The goal is to keep the meat at a low temperature so that the meat and the fat bond properly. As you grind, you are introducing heat so keeping the grinder cold and the meat cold is vital. Otherwise, your finished sausage will be crumbly and dry.
-
Add spice mixture to the meat and stir with your hands until well incorporated. The mixture will get sticky. You can dip your hands in water to prevent the mixture from sticking to your hands.
It should be cold enough that your hands hurt while you mix it. If the mixture warms up, put it in the fridge to cool down.
-
If your ice isn’t crushed, crush it with the food processor. This also helps chill the food processor.
-
Transfer meat to the bowl of the food processor, add half the crushed ice and process until all of the ice has dissolved, 1 to 2 minutes. Add the remaining crushed ice and continue processing until the mixture is completely smooth, 4 to 5 minutes more.
I had to do this in batches to ensure the ice was all melted. It’s imperative that your meat stays very cold. Do not skip the ice! Cold water is not the same as ice. If you do this in batches, make sure you mix the farce up so that it is the same all the way through.
-
Do a test of the mixture by frying up a little of it. Try not to brown the meat. You can adjust the seasoning here, but it should be a little salty as we’ll be boiling the sausages. I find the mace/nutmeg comes through very strongly but becomes more mild after the sausages are finished.
-
Refrigerate the meat overnight, at least 12 hours. Because it will oxidize, press plastic wrap directly on the surface, vacuum seal it, or put it in a plastic bag with the air squeezed out.
-
Before you stuff the casings, taste the mixture again by lightly frying it without browning it. Adjust seasoning as need be.
-
Prepare the casings. They will be packed in salt, so you want to start by soaking the casings for about 15 minutes in lukewarm water. Then, run cold water through the length of casing, checking for holes.
I usually leave the casings full of water while I set up the grinder so that they rehydrate fully.
-
Put the casing on your stuffer using a medium nozzle.
-
Stuff the sausage into the hog casings and twist into links. Have a small bowl of water next to you so you can dip your hands in it to keep the casing wet and prevent the mixture from sticking to your hands.
I stuff one long sausage gently then twist it into links. Twist the first link towards you, the next link away, then towards, then away until you’ve done all the sausages. As you twist the sausages, gently massage them so they are evenly stuffed.
-
Put the sausages in the fridge while you heat water. You want the water to stay at 160, or just under boiling. I use my sous vide to keep the water at 160 F while the sausages cook.
-
Simmer the sausages for 30 minutes.
-
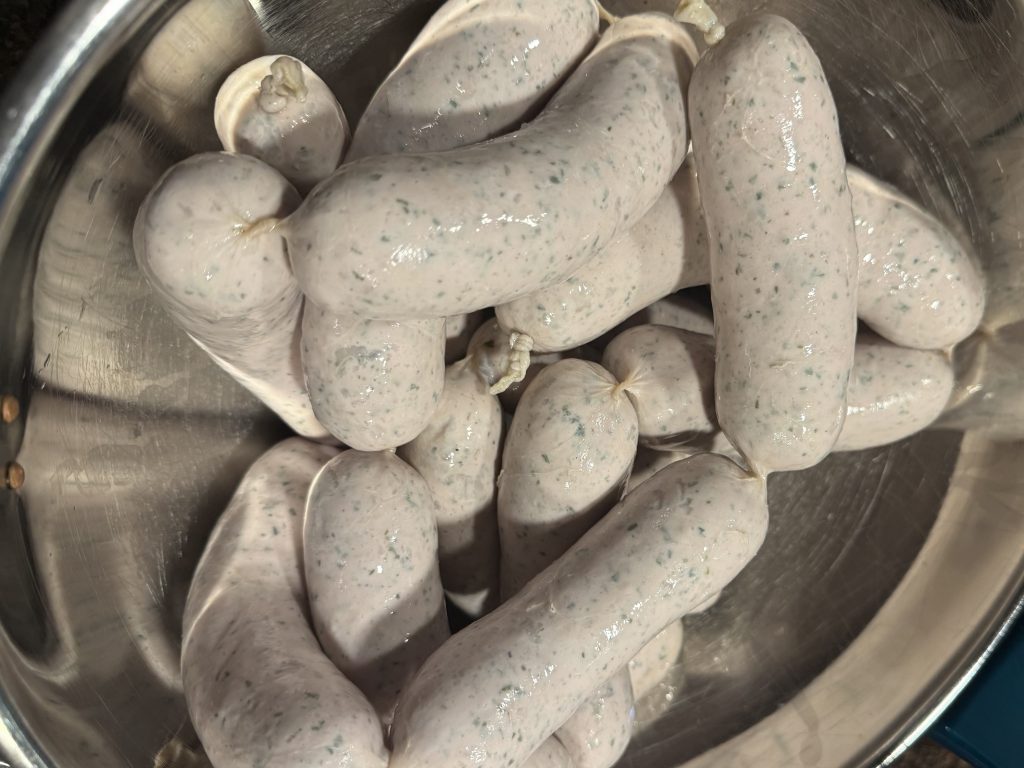
After 30 minutes, remove the sausages from the hot water and submerge them in ice water.
-
The sausages are now fully cooked and can be separated.
-
To reheat the sausages, warm them gently in salted water until fully warmed through. The casings are often removed before eating.